Embedding Letterhead in Gmail: A Simple Guide
Steps to Embed Letterhead in Gmail
Whether you’re a professional who often communicates through emails or a company seeking to enhance the aesthetic branding of your outbound correspondence, creating and embedding a letterhead in your Gmail can be an invaluable approach. A well-designed letterhead helps to convey professionalism and establish brand recognition. Our guide aims to help you understand Gmail’s various settings that you need to navigate to embed a signature. It then takes you on a journey to create a professional letterhead while ensuring that all critical details are perfectly formatted. Lastly, we culminate this process by explaining how to effectively embed this letterhead in your Gmail signature to automate its appearance in your outbound emails, portraying a consistent brand communication.
Understanding Gmail Settings
Navigating Gmail Settings: A Comprehensive Guide
We live in a digital age, a fascinating era characterized by rapid shifts in the technology universe. The newest gadgets and software applications are always around the corner, waiting to revolutionize how we manage our everyday tasks. In this spotlight today is Gmail, an email service from the tech giant, Google. Gmail has become an indispensable tool for personal correspondence, professional communication, and even project management. However, to utilize Gmail to its full potential, it’s crucial to understand its settings and their functions. Here’s a concise guide designed to help navigate Gmail settings proficiently.
1. Accessing Gmail Settings:
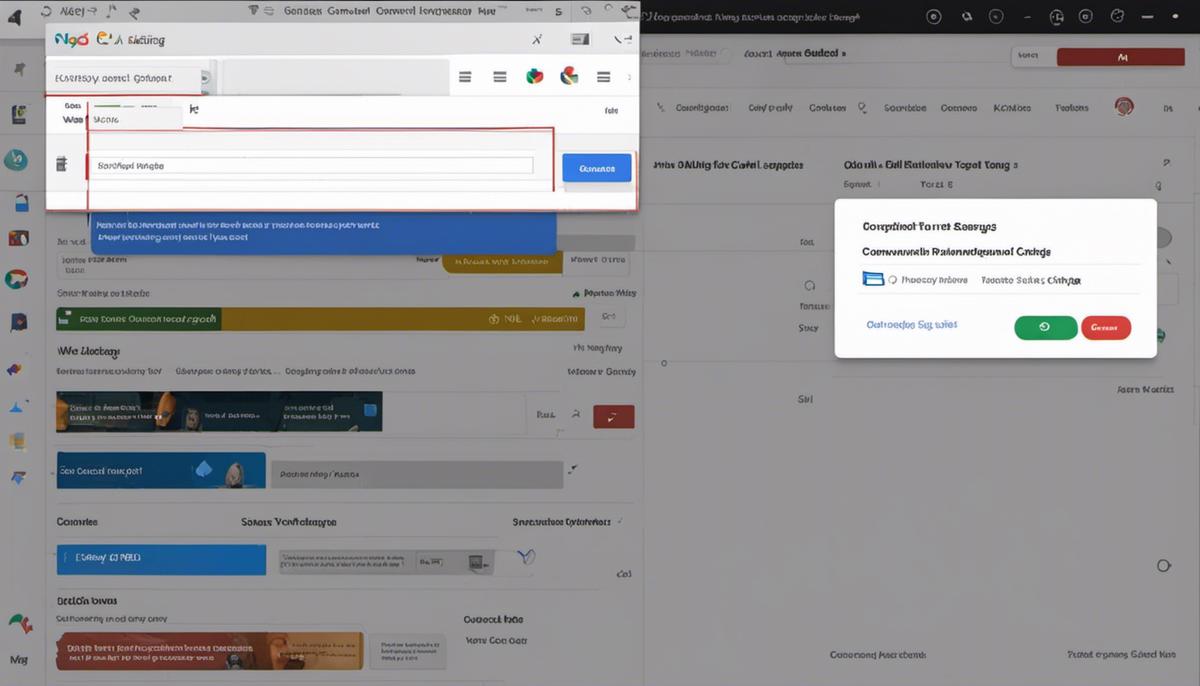
Click on the gear-like icon on the upper right corner of your Gmail inbox screen and select “See all settings”. This leads you to the primary Settings interface, with tabs including General, Labels, Inbox, Accounts and Import, Filters and Blocked Addresses, Forwarding and POP/IMAP, Chat and Meet, Add-ons, and Advanced.
2. General Settings:
The first default tab “General” allows you to make changes to the overall Gmail behavior. Here, you can control aspects like display language, maximum page size, keyboard shortcuts, and email conversation view. Get experimental with your email signature or even the theme of Gmail’s interface in this section.
3. Labels Settings:
Labels help categorize and organize emails by different projects, clients, or priority levels. In this segment, you can create new labels or edit and remove existing ones. Start using labels to track and manage your email communications in a more efficient manner.
4. Inbox Settings:
This area provides you with various customization options for your inbox structure. You could choose between several inbox types, including Priority Inbox or Starred First. Additionally, you can manage the way your emails get displayed and organize your inbox categories.
5. Accounts and Import Settings:
This section holds the key to mastering your account preferences. Here, change your password, manage Gmail aliases, set send mail as and check mail from other accounts. It also lets you import mail and contacts or even export Gmail data.
6. Filters and Blocked Addresses Settings:
Arguably one of the most powerful features of Gmail is the filters. They allow you to automate the way your emails are labeled, archived, or forwarded based on the set criteria. Plus, find and manage your blocked email addresses.
7. Forwarding and POP/IMAP Settings:
Here, enable or disable email forwarding and control how Gmail handles POP and IMAP access.
8. Chat and Meet Settings:
This tab helps manage settings pertaining to Google Chat and Google Meet, which helps with streamlining professional communication.
9. Add-ons Settings:
From here, manage your Gmail add-ons for boosting productivity, such as project management tools, CRM integrations, or signature generators.
10. Advanced Settings:
As the name suggests, this is where the more advanced Gmail options reside. Enable or disable features like auto-expanding conversations, canned responses, and other Gmail labs.
There you have it, a direct and concise guide to navigating Gmail settings. Dive in headfirst, experiment with configurations aligned to your communication style, and optimize this tool to not just address your emailing needs but also enhance the efficiency of your digital workspace.

Creating a Professional Letterhead
Professional letterhead: The Essential Elements
Jumping straight into the core of things, the first crucial element of a professional letterhead is the company logo. A logo is a physical representation of your business, imbued with the ethos, vision, and professionalism of your brand. Without a logo, your letterhead loses its anchor, it’s branding beacon, making it essential for any professional communication.
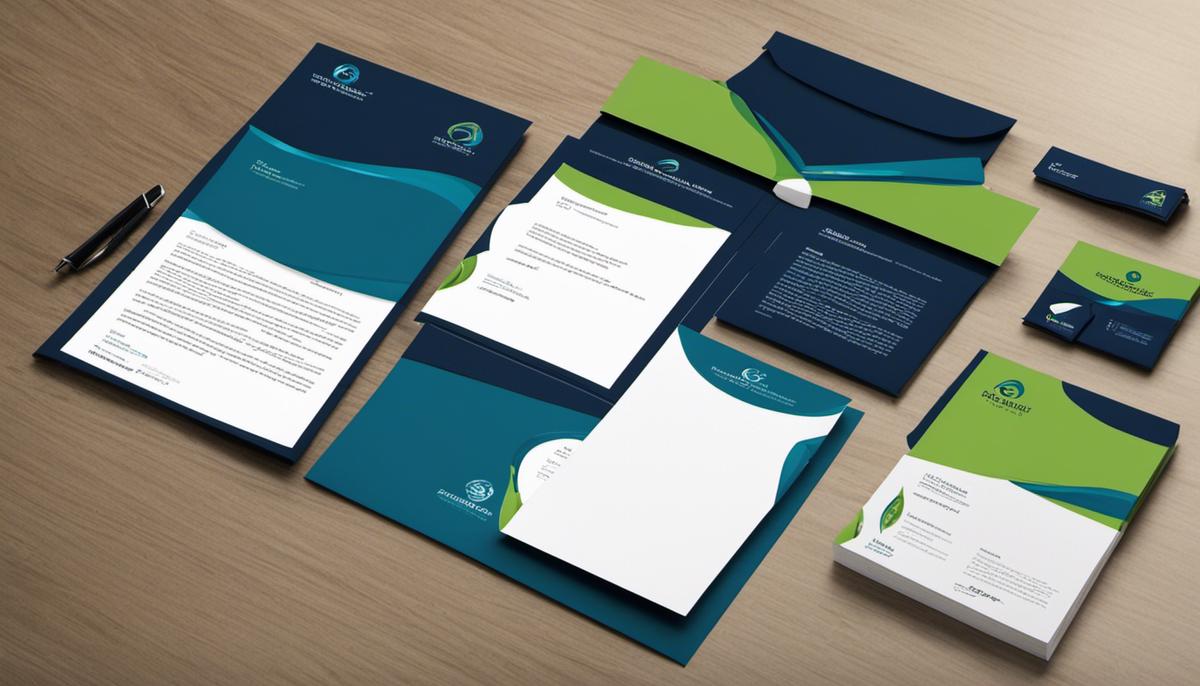
Then comes your company name and contact information. The letterhead should encompass a clear and visible display of your business name, the physical location with a full address, a relevant phone number, your official website, and an email address. These details equip the recipient with all the necessary information needed to respond or connect with the business.
In many cases, businesses choose to incorporate a tagline or brief description of their services in the letterhead. This strategic maneuver informs the recipient about the nature of your business while instilling a sense of trust and familiarity. A well-crafted and succinct tagline could mean the difference between engagement or disinterest.
An element that is often overlooked but is equally important is professional typography and color. Font types and color schemes are not arbitrary decisions. They need to be in sync with your brand identity and should invoke a sense of professionalism. Arial, Calibri, and Times New Roman are classic picks while colors should be sober yet effective. A harmonious blend of these elements represents a comprehensive product that connects instantly with the audience.
Letterheads also have an interactive aspect in the form of social media icons. These clickable buttons provide a pathway to view your business’s social media profiles. These can include platforms like LinkedIn, Facebook, Twitter, Instagram, and any other platform where your business maintains an active presence.
Finally, align all this information beautifully in terms of layout. Achieving a balanced, visually appealing, and professional layout might seem intimidating, but it’s a far-from-impossible task with the right tools and design software.
To sum it up without summarizing – a professional letterhead is an amalgamation of many elements each playing its part in succinctly conveying your brand identity. From your logo to your layout, each aspect needs careful consideration and planning to ensure your letterhead delivers the right message.

Embedding the Letterhead in Gmail Signature
Moving beyond merely text-based email signatures in Gmail, embedding a dynamic, visually-enhanced letterhead can make your emails not just more professional, but also more memorable. It’s a powerful tool with a simple execution process. Let’s walk through the specific steps:
- Design Your Letterhead: Your letterhead should ideally constitute digital letterhead with high resolution, clean lines, and carefully chosen colors to reflect your brand. It should include brand-defining elements like the company logo, name, tagline, social media handles, and contact information. Once you’ve got your design ready, save it as a PNG or JPG file, ensuring a resolution quality that won’t degrade when inserted into the signature.
- Host Your Letterhead Online: Before bringing it into Gmail, your letterhead file requires an online host. This could be your company’s website, Google Drive, or any other online file hosting platform. It’s crucial to set the file permissions in a way that anyone with the link can view it.
The rationale? When you insert an image into your Gmail signature, Gmail doesn’t actually upload and store the image. Instead, it uses the location of the hosted file as a source for the image. When someone opens your email, Gmail uses that specified location to retrieve the image.
- Acquiring Image URL: Assuming you have hosted your image via Google Drive, click on the “Get Sharable Link,” and then replace “open” in the URL with “uc” just before you use it in Gmail. Remember, it’s critical to make sure your URL ends in the image extension (.png, .jpg, etc.), or else Gmail might have issues fetching your letterhead.
- Embedding Your Letterhead into Your Gmail Signature: Head to Gmail settings, which you can find by clicking the gear icon on the upper-right corner of your inbox. From there, locate the signature section under the “General” tab. Find the image insertion tool (it looks like a small mountain landscape) and click on it. Paste in that precise URL you generated earlier.
Your letterhead should load swiftly into the editing window. If it does not, check your file permissions and confirm that the URL is correct. After your letterhead is inside your signature, you’re free to adjust its size if necessary. Additionally, you can add a link to the image if you want it to redirect to your site or any other web page when clicked on.
From there, all that’s left to do is make sure you’ve selected your signature for new messages and replies/forwards, then hit “Save Changes” at the bottom of the page.
In summary, this process allows you to turn your letterhead into a dynamic, beneficial part of your email signature. Whether to reinforce your brand, make your emails look more professional, or increase your social media followers, an embedded letterhead via Gmail signature is a savvy move for any tech enthusiast.

By now, you should have gained a clear understanding of how Gmail settings work, the essential factors in creating a professional letterhead, and the steps to embed this crafted letterhead in your Gmail signature. Mastering these skills not only enhances your brand image but also saves a considerable amount of time by automating the process. Keep in mind, the consistency and professionalism you portray through this could significantly elevate your reputation amongst your email recipients, irrespective of whether they encompass your clients, colleagues, or partners.


