Create a Shopify Store Step-by-Step
Embarking on the journey of creating an online store is an exciting prospect for anyone looking to enter the digital marketplace. As you step into the world of e-commerce, Shopify emerges as a trusted and user-friendly platform that simplifies the process of bringing your products to the virtual shelf. This essay will guide you through the foundational steps of setting up your Shopify account, from the initial sign-up to the intricate customization of your store. Whether you’re a seasoned entrepreneur or a newcomer, navigating Shopify’s intuitive system will soon become second nature as you select the perfect pricing plan, configure your store’s essentials, and begin carving out your unique corner of the Internet.
Setting Up Your Shopify Account
How to Create and Set Up a New Shopify Account
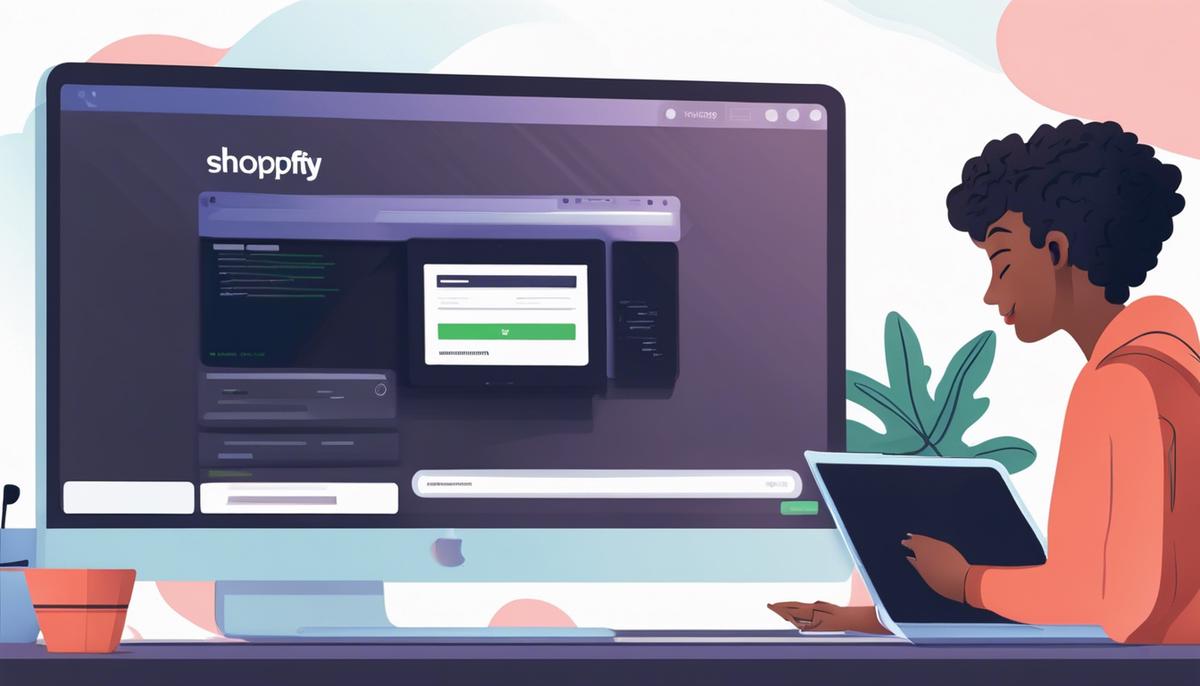
Embarking on an online business adventure? Jumpstart your e-commerce dreams by setting up a new Shopify account. It’s simpler than you think, and you’ll be selling in no time. Here’s the lowdown.
Step 1: Sign Up for ShopifyHop onto Shopify’s website. Hit the ‘Start free trial’ button. Enter your email, desired password, and store name. Your store name is your brand’s first impression – make it snappy and memorable. One small hiccup – if the name’s taken, you’ll need to get creative. Once you complete this step, sit tight, you’re on your way.
Step 2: Tell Shopify About YourselfShopify wants to know you better – like speed dating for business. Answer a few quick questions about your business. Just starting out or bringing an empire over to Shopify? Whatever the case, let them know. Be honest, it helps Shopify tailor the experience to your needs.
Step 3: Add an Address for PaymentsYou’re setting up shop, so where’s the cash going to flow? Fill in the details – your business address is where Shopify sends the dough. Ensure accuracy here; this step is crucial for tax calculations and payouts.
Step 4: Optimize the Admin DashboardWelcome to mission control, where dreams turn into dollars. The admin dashboard is your new best friend. Explore its nooks and crannies. Add products, set up payment gateways, tweak shipping settings, and personalize with themes. This is where the rubber meets the road, folks.
Step 5: Add Products to Your StoreClick ‘Products’, then ‘Add product’. Now, show the world what you’ve got. Name, description, images, price – pour all of the juicy details into the mix. Categories and tags? Don’t skip ’em – they’re the signposts that guide customers to your goods.
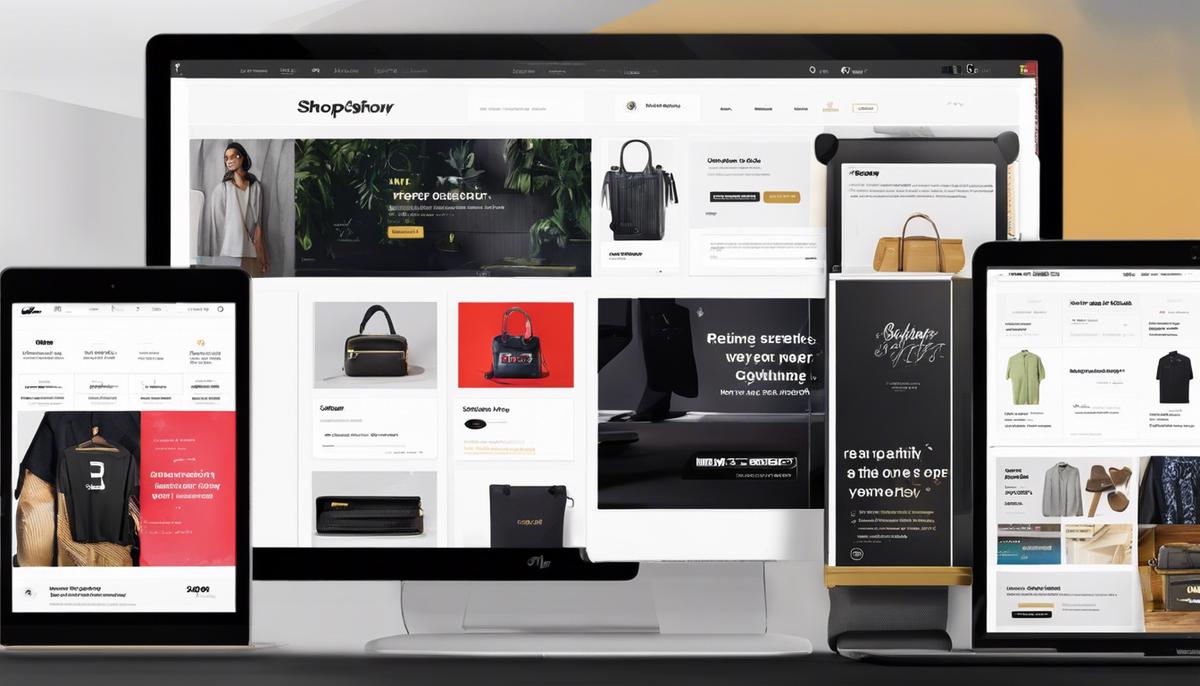
Step 6: Customize Your Store’s LookClick ‘Online Store’, then ‘Themes’. Your store’s about to get a serious glow-up. Find a free theme, or shell out a bit of cash for something bespoke – whatever fits your brand persona. This is about bringing your brand’s aesthetic to life. Customization is key – dazzle with your distinct style.
Step 7: Set Up a DomainUnder ‘Online Store’, choose ‘Domains’. Your domain is your address on the internet highway. You can buy one through Shopify or bring your own. Make it relevant to your brand, easy to remember, and fast to type. It’s like the name on your mailbox, make sure it stands out.
Step 8: Activate Payment ProcessorsClick ‘Settings’, then ‘Payments’. The world’s your oyster here, with various payment gateways available. Integrate Shopify Payments for a seamless experience or use third-party providers like PayPal. Stick to what’s best for you and your customers – think region, currency, and convenience.
Step 9: Set Up ShippingNavigate to ‘Settings’ and click ‘Shipping’. Whether you’re sending a parcel down the street or across the globe, get your shipping strategy straight. Set up shipping zones, rates, and any necessary customs information. Delight customers with snappy delivery – it’s a game changer.
Step 10: Test Your Shopping CartThis stage is no joke. Place a test order. Run through the checkout process. Ensure every step is smoother than a silk tie – no hitches, no glitches. Fix anything that stands out and prepare for a smooth launch.
Step 11: Launch Your StoreAlas, the ribbon-cutting ceremony. Remove the storefront password under ‘Online Store’ settings. Now, let the world in! Your products are polished, your site’s sizzling, and you’re ready to sell. Congratulations, you’re officially an online entrepreneur.
Remember, this is just the beginning. With diligent care, razor-sharp marketing strategies, and quality customer service, scaling skyward is not only possible – it’s probable. Now go forth and conquer the digital marketplace!
Customizing Your Shopify Store
Maximizing Your Shopify Store’s Potential: Customization is Key
Transforming your Shopify store into a powerhouse brand requires more than just offering stellar products. Customizing your store is about shaping the shopping experience to not only reflect your unique brand but also to optimize functionality, drive sales, and enhance customer satisfaction. So, let’s cut to the chase and delve into the customization options that can take your Shopify presence from good to great.
Step 12: Tailor Your Theme Settings
The theme of your store is like the outfit of your brand – it needs to impress and express. Dive into the theme editor and get acquainted with the plethora of customization options at your disposal. Play around with fonts and color schemes to match your brand’s personality. Remember, consistency is key; the visual coherence of your site anchors your brand identity in customers’ minds.
Step 13: Utilize the App Store
Shopify’s App Store is a treasure trove of plugins to extend your store’s functionality. Need to boost your email marketing game? There’s an app for that. Want to streamline your fulfillment process? There’s an app for that, too. The right apps can automate processes, elevate your marketing efforts, or introduce exciting new features to improve the user experience.
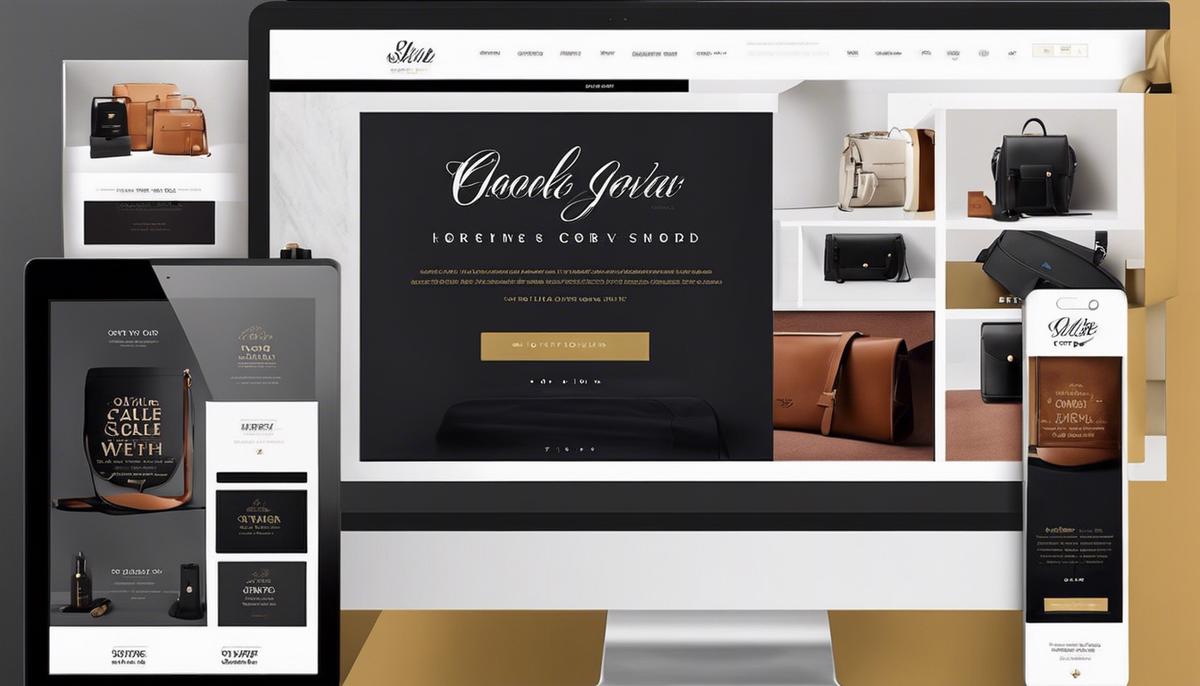
Step 14: Go Mobile
In a world where smartphones are like extensions of ourselves, ignoring the mobile experience could be your downfall. Ensure your Shopify store is mobile-optimized. This means fast load times, easy navigation, and touch-friendly buttons. Capture that on-the-go audience by making their mobile shopping experience so flawless they can’t help but return.
Step 15: Personalize Your Content
Create content that speaks directly to your customer. Whether it’s engaging product descriptions or compelling blog posts, make your voice heard loud and clear. Use SEO best practices to help potential customers find you amidst the digital crowd. Dynamic content customization can also show shoppers products tailored to their interests, keeping them engaged and increasing the likelihood of a sale.
Step 16: Engage with Social Proof
Implement elements of social proof, like customer reviews and ratings, to establish trust and credibility. Let your customers do the talking for you; a glowing review can be the tipping point for a hesitant shopper. Displaying real feedback can also provide valuable insights into your products, encouraging continuous improvement.
Step 17: Streamline Navigation
Simplify your store’s navigation to help customers find what they need with breeze-like ease. Logical, intuitive site architecture paired with a smart search function reduces frustration and enhances the customer journey. Consider using a mega menu if you have a wide array of products – showing more options at a glance can lead to increased discovery and longer on-site times.
Step 18: Implement Custom Checkout Options
Seal the deal with a checkout process that’s smooth as silk. Offer a range of payment methods to suit all customers and consider a one-page checkout to minimize cart abandonment. Personalize this final stage with upsells or loyalty program promotions; make their last interaction a memorable one.
To wrap up, customizing your Shopify store isn’t just about pretty aesthetics; it’s about creating a shopper-friendly environment that reflects your brand, encourages sales, and keeps customers coming back for more. Dive into customization with confidence, knowing that every tweak and tune-up is an investment in your brand’s growth and success. Now take these insights, make your store unmistakably yours, and watch as your online presence flourishes without the need for a concluding summary.
Adding Products and Collections
Let’s rock your Shopify store with seriously amazing product collections that will keep your customers clicking ‘Add to Cart’!
Adding Products to Your Shopify Store
So you’ve nailed the basics, and now it’s time to stock your virtual shelves. Get ready to showcase your must-have merchandise!
- Add a New Product
- – Click the ‘Products’ button in your Shopify admin, then hit ‘Add product’.
- – Enter captivating product details: think magnetic names, descriptions with pizzazz, and SEO-friendly keywords. Your products aren’t just items; they’re the heroes of your store!
- – Upload high-quality images. A picture is worth a thousand words, or in this case, potentially a thousand sales!
- Price & Inventory
- – Set a price that’s both competitive and profitable. It’s a balancing act worthy of a circus performer!
- – Keep your inventory in check! Update your stock levels to reflect what’s actually available. Nothing screams efficiency like real-time inventory updates.
- Shipping Details
- – Don’t forget the nitty-gritty. Weight, dimensions, and carrier details matter for smooth shipping.
Creating Collections in Your Shopify Store
Collections are like your store’s personal stylist—they group your products into runway-ready ensembles that make browsing a breeze.
- Create a Collection
- – Access the ‘Products’ section and select ‘Collections’.
- – Hit ‘Create collection’ and give it a name that pops.
- – Set up a Manual or Automated collection. Manual gives you full curatorial control, while Automated lets Shopify do the heavy lifting based on conditions you set.
- Customize Your Collection
- – Write a description that makes your collection irresistible. Highlight the vibe, the occasion, or how these items are the next big thing!
- – Add a killer image that complements the collection’s theme. Let it speak to your customers like a visual siren call.
- Edit Collection Conditions
- – If you’re going automated, define the conditions. Price, tags, weight – these can all be the bouncers at your collection’s VIP entrance.
- – Ensure your conditions mesh well, so products effortlessly slide into the right collections like they were made for each other.
That’s a wrap! Dive in, get hands-on, and optimize your store with products and collections that promise to turn virtual window-shoppers into loyal customers. Light up your store’s runway and watch as your Shopify empire grows, no closing summary needed – the results will speak for themselves. Go get ’em, entrepreneurs!
With your Shopify store now vibrantly detailed with products and collections, and customized to capture the essence of your brand, you are well-equipped to invite the world to your digital doorstep. The knowledge imparted here offers just a glimpse at the potential of your online presence, laying a solid foundation that can grow and evolve alongside your business. As you continue to refine your store and harness the powerful features of Shopify, remember that the keys to success are in your hands: creativity, engagement, and a commitment to providing value to your customers. The digital marketplace is vast, and with your Shopify store polished and ready, the next chapter of your entrepreneurial story is waiting to be written.